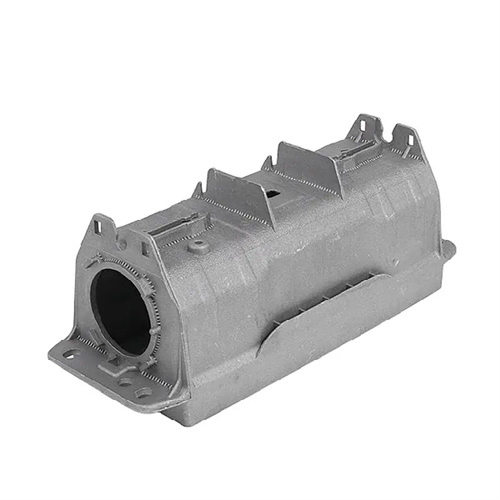
Calculation of die casting molding dimensions
Calculating die-casting dimensions is a core step in mold design, and its accuracy directly determines whether the die-casting meets assembly requirements and dimensional tolerance standards. This calculation comprehensively considers multiple factors, including alloy shrinkage, mold wear, and molding process fluctuations. Through scientific formula derivation and parameter selection, the actual mold cavity dimensions are determined. Unlike traditional machining, die-casting dimension calculations must incorporate the principle of “compensation”—the mold cavity dimensions must be larger than the designed dimensions of the die-casting to offset the shrinkage of the molten metal from liquid to solid, while also allowing for mold wear and repairs. Therefore, mastering a systematic calculation method is essential for ensuring acceptable die-casting dimensions.
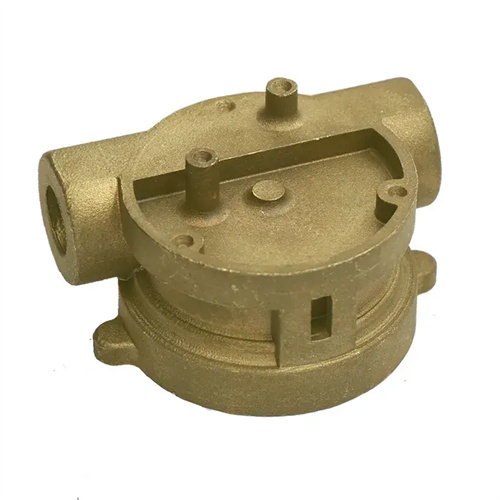
Accurately selecting the shrinkage factor is the primary prerequisite for calculating die dimensions. Different alloys exhibit significant shrinkage characteristics, necessitating a benchmark shrinkage factor tailored to the specific material. For example, a baseline shrinkage factor of 0.5%-0.8% is used for zinc alloys, 0.8%-1.2% for aluminum alloys, and 1.0%-1.5% for copper alloys. However, actual calculations cannot simply apply fixed values; adjustments must be made to the die-casting structure. For areas with wall thicknesses greater than 10mm, the shrinkage factor should be increased by 0.1%-0.2%. For slender structures, shrinkage is hindered by die constraints, so the shrinkage factor should be reduced by 0.1%-0.15%. The shrinkage factor value also depends on the die-casting process. When using high-pressure, high-speed processes to ensure adequate metal shrinkage, the shrinkage factor can be appropriately reduced by 0.05%-0.1%. To improve accuracy, reference production data from similar products or actual shrinkage measurements through trial molds can be used to establish a shrinkage factor database encompassing material, structure, and process.
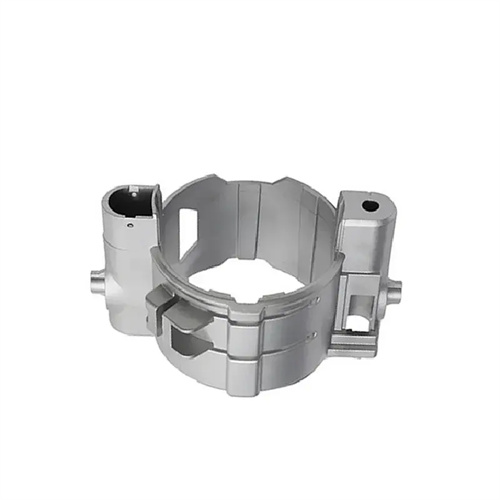
The calculation formula for basic cavity dimensions differs depending on the dimension type. For unidirectional dimensions (such as length and width), the calculation formula is: Cavity Dimension = (Maximum Limit Dimension of Die-Casting Part + Minimum Limit Dimension of Die-Casting Part)/2 × (1 + Shrinkage Factor) + Mold Manufacturing Tolerance. In this formula, (Maximum + Minimum)/2 represents the basic dimension of the die-casting part, which is multiplied by (1 + Shrinkage Factor) to compensate for shrinkage. Mold manufacturing tolerance is typically 1/3 to 1/5 of the die-casting part tolerance to ensure mold precision. For bidirectionally symmetrical dimensions (such as aperture and slot width), the shrinkage effect of center distance must be considered in the calculation. Center distance cavity dimension = Basic center distance dimension of die-casting part × (1 + Shrinkage Factor). The tolerance is generally 1/2 of the die-casting part center distance tolerance, as center distance deviation is more sensitive to assembly. For angular dimensions, the influence of shrinkage is manifested as angle deviation, which is calculated as follows: cavity angle = die casting angle + (die casting angle × shrinkage). However, in practice, the angle deviation is small and is usually controlled within ±0.5°.
Consideration of mold wear and die repair allowance is the key to extending the life of the mold. In die-casting production, the mold cavity will gradually wear due to the scouring of the molten metal and the friction of demolding, especially near the ingrowth and parting surface, which will wear faster, causing the cavity size to gradually increase. Therefore, when calculating the initial cavity size, it is necessary to reserve a wear allowance. Generally, for molds with a batch production of more than 100,000 pieces, the wear allowance of the one-way size is 0.03~0.05mm, and the wear allowance of the easily worn parts can be increased to 0.08~0.1mm. The die repair allowance needs to be set according to the dimensional stability requirements of the die-casting. When the size of the die-casting is out of tolerance, the size can be reduced by grinding the cavity. Therefore, the initial cavity size should not be too large, and the die repair allowance is usually controlled at 0.1~0.2mm. The superposition of wear and die repair allowance needs to be included in the calculation of the final cavity size to ensure that the size of the die-castings produced throughout the life cycle of the mold is within the qualified range.
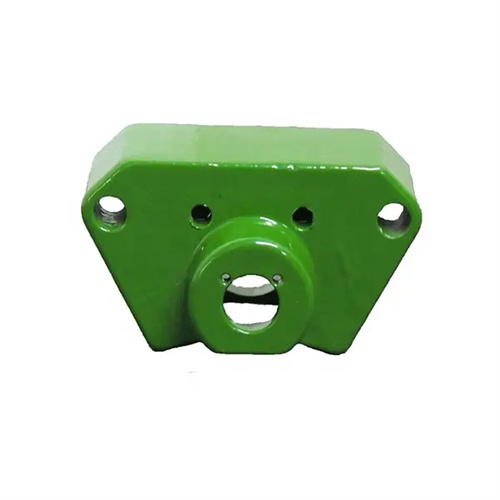
Calculating mold dimensions for special structures requires a differentiated approach. For threaded die-cast parts, the cavity thread dimensions must be calculated taking into account both shrinkage and thread clearance. The cavity dimension for external threads = (the basic thread major diameter + 0.02) × (1 + shrinkage), and the cavity dimension for internal threads = (the basic thread minor diameter – 0.02) × (1 + shrinkage), where ±0.02mm represents the clearance compensation. For die-cast parts with curved surfaces, shrinkage simulation is performed using 3D modeling software. The surface is discretized into multiple feature points, and shrinkage compensation is calculated for each point based on its coordinate direction. The cavity surface is then fitted to generate the mold surface. For thin-walled parts (wall thickness < 2mm), shrinkage should be reduced by 20%-30% due to rapid cooling rates and constrained shrinkage. The calculation also requires verification of cavity strength to prevent mold deformation under high pressure from affecting dimensions. Furthermore, for areas requiring subsequent processing, a machining allowance (generally 0.3-0.5mm) should be included in the shrinkage compensation calculation to avoid dimensional deviations after final processing.
