Design of each component of the pouring system
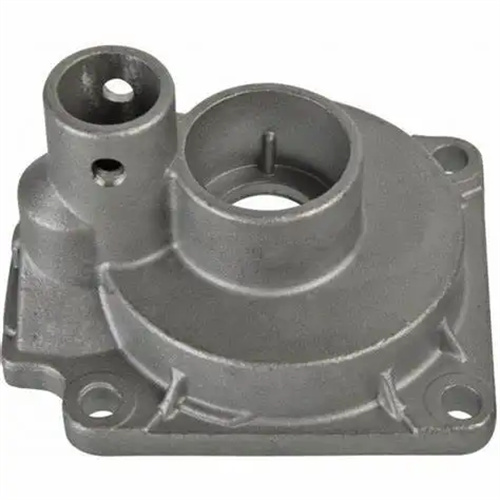
The sprue bushing is the starting point of the gating system. Its design must balance precision with the die-casting machine’s pressure chamber and efficient metal introduction. The sprue bushing’s inlet diameter should be 0.5-1mm larger than the pressure chamber diameter, and a bell-shaped transition (taper angle of 30°-60°) should be used to reduce turbulence during molten metal inflow. The inner bore surface roughness should be controlled below Ra0.8μm to reduce flow resistance. The material used is H13 hot-work die steel, hardened to 44-48HRC to withstand the impact of high-pressure molten metal. For example, a sprue bushing for a 1600-ton die-casting machine typically has an inlet diameter of 80-100mm and a length of 150-200mm. Cooling channels are required to prevent deformation due to overheating. Furthermore, the sprue bushing and the fixed die plate should utilize an H7/m6 transition fit to ensure precise positioning and ease of replacement.
The sprue connects the gate sleeve to the runner, and its design needs to balance flow rate and pressure loss. The cylindrical sprue has a simple structure and is suitable for small molds; the tapered sprue (taper 1°-3°) can accelerate the flow of molten metal and is commonly used for medium and large castings. The diameter of the lower end needs to be 5%-10% smaller than the upper end. The sprue length should be shortened as much as possible, generally not exceeding 200mm, otherwise a diverter cone needs to be installed to disperse the impact force of the molten metal. The top of the diverter cone is hemispherical or conical (cone angle 60°-90°), installed at the center of the end of the sprue, which can evenly guide the molten metal to the runner while avoiding direct impact on the bottom of the cavity. When producing wheel hub molds, a die-casting plant increased the sprue taper from 2° to 3°, which increased the molten metal flow rate by 12%, effectively solving the problem of insufficient spoke filling.
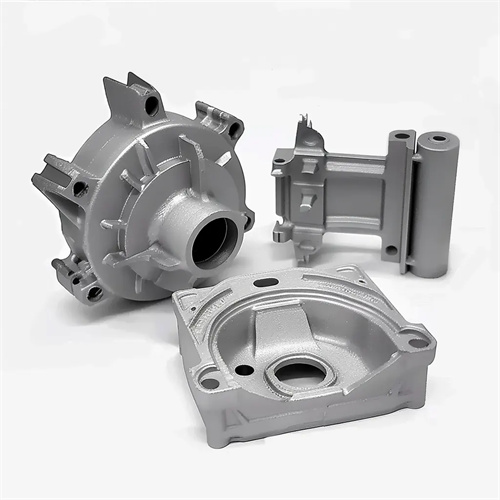
The design of the runner must achieve smooth diversion of the molten metal, and its cross-sectional shape and size are key parameters. The trapezoidal cross-section is the most widely used, with the ratio of the upper base width B, the lower base width b, and the height h typically being B:b:h = 1.5:1:1, ensuring both stable flow and ease of processing. A semicircular cross-section is suitable for small molds, offering ease of processing but faster heat dissipation. A U-shaped cross-section balances fluidity and strength, making it suitable for high-pressure casting. The length of the runner needs to be adjusted according to the size of the casting, generally 1-1.5 times the distance from the main gate to the ingates. Excessive length will cause the molten metal temperature to drop excessively. Multi-branch runners require an equal resistance design, meaning the length of each branch must maintain a consistent ratio of cross-sectional area to ensure even distribution of the molten metal. For example, in the runner of a four-cavity mold, the length of each branch needs to be shortened as it moves away from the main gate to compensate for pressure loss.
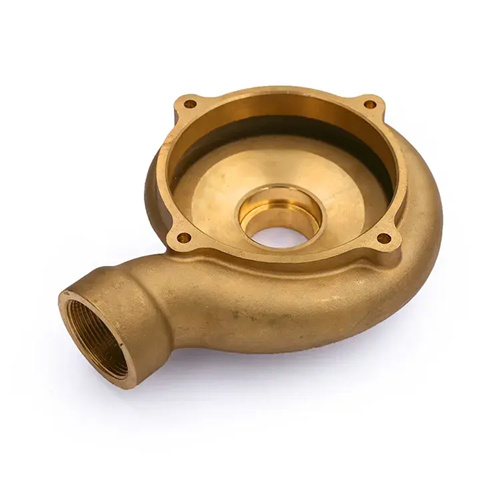
The ingates are crucial for controlling filling quality, and their design requires precise dimensions calculated based on the casting structure. The ingate thickness is typically 0.6-0.8 times the casting wall thickness: the upper limit for thin-walled parts ensures flow, while the lower limit for thick-walled parts controls flow rate. The width must meet the required molten metal flow rate, calculated as follows: Width = (casting volume ÷ filling time) ÷ (thickness × flow rate). For aluminum alloys, the flow rate is 30-50 m/s, and for zinc alloys, 20-40 m/s. The length should be minimized (1-3 mm) to reduce pressure loss. The ingates should be positioned away from critical areas of the casting, such as bearing holes and sealing surfaces. A symmetrical arrangement should be used for symmetrical parts, while multi-point feeding should be employed for complex parts. A company producing laptop casings reduced the surface sink mark defect rate from 18% to 3% by moving the ingates from the side to the top center and integrating four auxiliary gates.
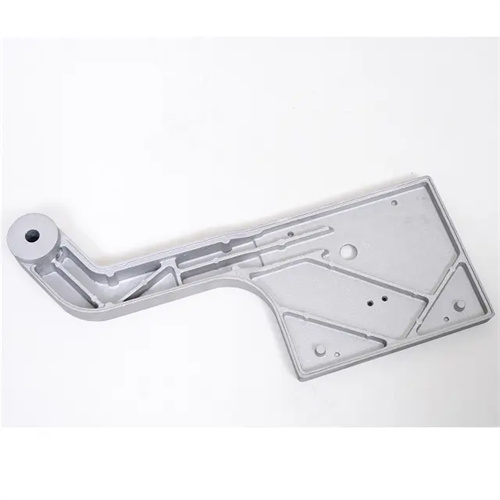
Overflow troughs and venting troughs are crucial auxiliary structures in the gating system, directly impacting the internal quality of the casting. Overflow troughs are typically located where molten metal is last filled (such as at the end or corner of the mold cavity). Their volume typically accounts for 5%-15% of the casting volume, and their entrance width should be 20%-30% wider than the ingate to ensure effective collection of cold material and gas. The venting trough, connected to the overflow trough, is 0.1-0.2mm wide, 0.05-0.1mm deep, and 10-20mm long. A “maze-like” structure can be employed to improve venting efficiency. For easily oxidized alloys such as magnesium alloys, a vacuum pump is required at the end of the venting trough to maintain a controlled vacuum level within the mold cavity of 50-100 mbar. In the die-casting of a new energy vehicle motor housing, the inclusion of an annular overflow trough and dense venting troughs on the flange edge increased the casting’s airtightness acceptance rate from 85% to 99%.
