Estimation of core pulling force in die casting
Estimating the die-casting core-pulling force, a prerequisite for core-pulling mechanism design, requires comprehensive consideration of the mechanical interaction between the die-casting and the core. Reliable values, combined with material properties and structural parameters, provide a basis for selecting power components. The core-pulling force is essentially the combined force that overcomes the die-casting’s grip on the core and the relative friction. Estimation requires a balance between theoretical formulas and practical corrections to avoid overloading the mechanism or insufficient power due to miscalculation.
Holding force, a primary component of core-pulling force, is generated by the solidification shrinkage of the molten metal and is positively correlated with the mold area and alloy shrinkage rate. Theoretically, holding force can be calculated using the formula “Holding force = mold area × shrinkage force per unit area.” The shrinkage force per unit area varies depending on the alloy type: approximately 8-12 MPa for zinc alloys, 12-18 MPa for aluminum alloys, and 18-25 MPa for copper alloys. For example, for an aluminum alloy die-cast part with a side hole mold area of 50 cm² (5000 mm²), the holding force is approximately 5000 × 15 = 75000 N (75 kN). However, in practice, core surface roughness can increase the holding effect. When Ra increases from 0.8 μm to 3.2 μm, the calculated value should be multiplied by a correction factor of 1.2-1.3.
Estimating friction requires considering both normal pressure and the coefficient of friction. Normal pressure primarily stems from the holding force, while the coefficient of friction is related to the material pairing and surface condition. The coefficient of sliding friction between metals and steels is 0.15-0.2 for zinc alloy and H13 steel, 0.2-0.25 for aluminum alloy, and 0.25-0.3 for copper alloy. For aluminum alloy, for example, if the holding force is 75 kN and the coefficient of friction is 0.23, the friction force = 75 × 0.23 = 17.25 kN. Furthermore, the core draft angle changes the direction of friction. The greater the angle θ, the smaller the friction component in the core-pulling direction. Therefore, the actual friction force must be multiplied by cosθ. When θ = 2°, cosθ ≈ 0.9994, which has little impact on the result. However, when θ increases to 5°, cosθ ≈ 0.9962, requiring a correction in the calculation.
The formula for estimating the comprehensive core-pulling force is “Core-pulling force = (holding force + friction force) / cosθ × safety factor.” The safety factor is set between 1.3 and 2.0 depending on the structural complexity, with the upper limit set for complex structures or mass production. Using the aluminum alloy example above, with a holding force of 75 kN, friction of 17.25 kN, θ = 2°, and a safety factor of 1.5, the core-pulling force = (75 + 17.25) / 0.9994 × 1.5 ≈ 92.25 × 1.5 ≈ 138.38 kN. This means a power element with a rated output of at least 140 kN is required. For irregular cores, since contact area calculation is complex, a simplified calculation of “projected area × correction factor” can be used. The correction factor for irregular areas is set between 1.1 and 1.4.
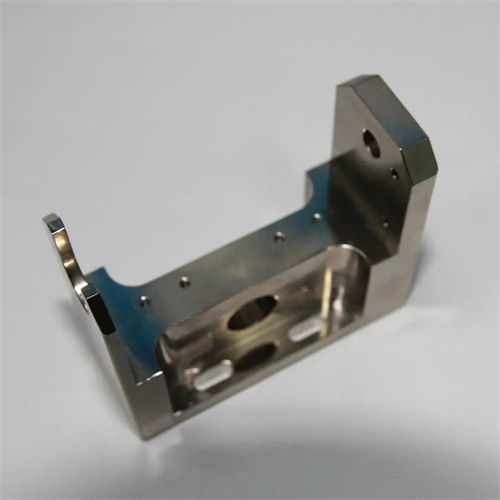
Core-pulling force estimates for special structures require specific considerations. For threaded cores, the additional resistance of thread engagement must be factored in. Core-pulling force = (holding force + thread friction) / cos (flank angle / 2). At a 60° flange angle, cos30° ≈ 0.866, so the linear core-pulling force should be divided by 0.866. For curved cores, the maximum projected area should be used for calculation and multiplied by a factor of 1.2-1.5, as curved contact can lead to uneven holding. Once estimated, the estimate should be verified through a trial mold. If the die casting exhibits no deformation during core pulling and the mechanism operates smoothly, the estimate is reasonable. If strain or binding is observed, the molding area and friction coefficient should be re-verified.
