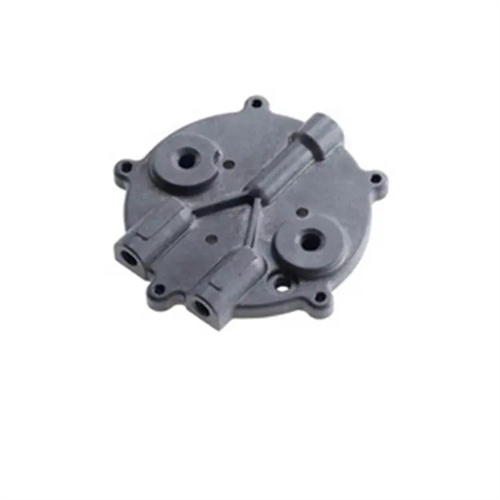
Stress during the pouring process of die casting mold
The stresses experienced by die-casting molds during the pouring process are a major cause of mold failure. These stresses arise from the combined effects of molten metal impact, sudden temperature rise, and solidification shrinkage, exhibiting dynamic and complex distribution characteristics. Understanding their generation mechanisms and influencing patterns is key to optimizing mold design and process parameters.
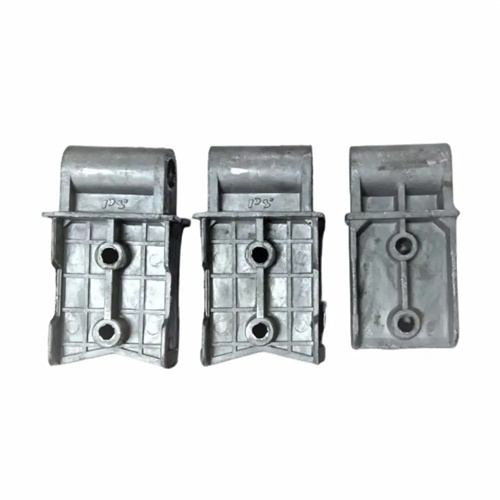
Impact stress generated during the high-speed filling phase of molten metal is the primary stress source. During die casting, molten metal enters the mold cavity at a speed of 5-50 m/s, violently colliding with the cavity wall at the entrance. Impact forces can reach 100-500 MPa. The resulting instantaneous stress concentration can easily lead to plastic deformation on the cavity surface. This impact is particularly pronounced in the core area directly opposite the ingate. In one aluminum alloy die-casting mold, improper ingate design caused a dent at the top of the core after 30,000 cycles. Testing revealed localized impact stresses reaching 380 MPa, exceeding the material’s yield strength. The magnitude of impact stress is related to injection speed, molten metal viscosity, and cavity structure. Every 10 m/s increase in speed can increase impact stress by 20%-30%. Therefore, simulation is necessary to optimize the ingate position and shape to disperse the impact force.
Thermal stress caused by temperature gradients continuously acts during the pouring process. When molten metal ( 400-1100 °C) enters the mold cavity, the mold surface instantly heats up, creating a significant temperature difference with the interior (up to 300-500 °C). Thermal expansion of the surface metal is constrained by internal constraints, generating compressive stress. Conversely, as the mold cools, surface contraction generates tensile stress. This cyclical thermal stress (with amplitudes of up to 200-400 MPa ) repeatedly acts and can cause fatigue cracks on the mold surface, also known as ” thermal cracking.” For copper alloy die-casting molds, due to the high pouring temperature, thermal stress cycles are more intense, and cracks appear 40%-60% earlier than in aluminum alloy molds. The thermal conductivity of the mold material directly affects the magnitude of thermal stress. H13 steel (thermal conductivity of 25 W/(m · K) ) produces approximately 25% lower thermal stress than 3Cr2W8V steel ( 18 W/(m · K) ) . Therefore, high thermal conductivity materials are preferred for high-temperature die-casting.
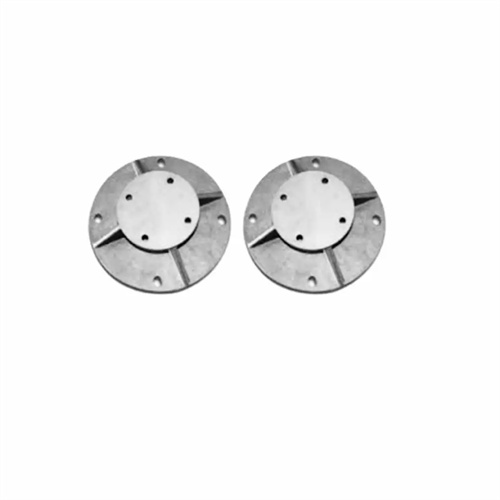
The restraining stress generated by solidification shrinkage of molten metal cannot be ignored. As the molten metal solidifies within the mold cavity, its volumetric contraction exerts a clamping force on the cavity walls. However, the mold, due to its rigid constraints, cannot shrink with this force, resulting in tensile stress on the cavity surface. The magnitude of this stress is related to the alloy’s shrinkage, solidification rate, and mold rigidity. Copper alloys with high shrinkage (1.2%-1.5%) generate 60%-80% higher restraining stress than zinc alloys (0.5%-0.8%). If the die-casting structure contains thick or large sections and the solidification shrinkage time is prolonged, restraining stress will continue to accumulate. For example, in a motor end cap mold, uneven shrinkage at the flange caused stress corrosion cracking in the corresponding area of the cavity. Testing revealed local tensile stresses reaching 280 MPa. By optimizing the cooling system and accelerating solidification in thick-walled areas, restraining stress can be reduced by 30%-40%.
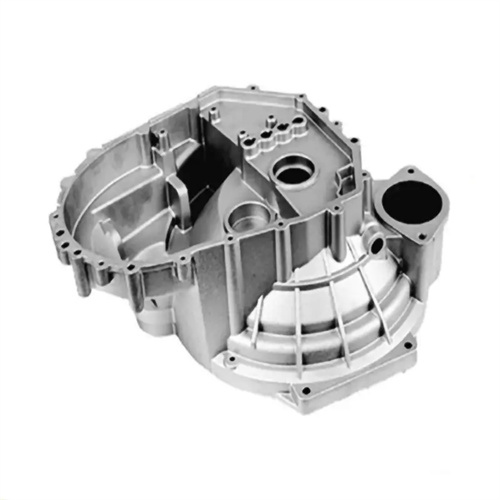
The stress superposition effect increases the risk of mold damage. During the pouring process, impact stress, thermal stress, and constraint stress often exist simultaneously, forming a superposition in certain areas. For example, the area near the ingrowth may be subjected to the superposition of impact compressive stress and thermal stress, while the area away from the gate may be subject to the combined action of constraint tensile stress and thermal shrinkage tensile stress. When the superimposed stress exceeds the fatigue limit of the material (approximately 300MPa for H13 steel), microcracks will rapidly form and expand on the mold surface. Experimental data show that the crack propagation rate in the stress superposition area is 2 to 3 times that of a single stress area. Therefore, in the mold design, it is necessary to reduce stress concentration points through structures such as rounded corner transitions and reinforcing ribs. At the same time, local quenching is used to increase the surface hardness to 46 to 48HRC to enhance fatigue resistance.
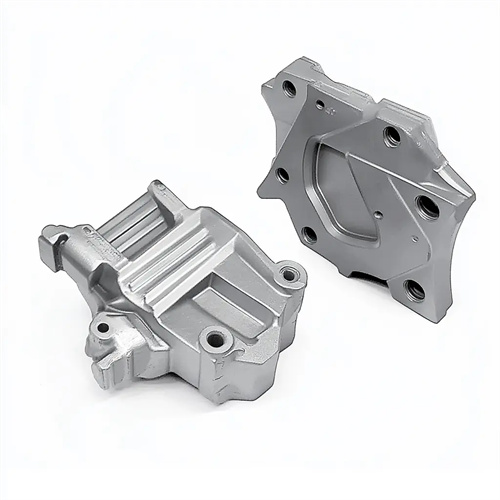
The dynamic behavior of stress provides a basis for process optimization. By implanting stress sensors in key areas of the mold, it was found that impact stress peaks during the filling phase (0.01-0.1 seconds), thermal stress gradually increases during the solidification phase (0.5-5 seconds), and constraint stress reaches its maximum just before demolding. To address this phenomenon, a segmented control strategy can be implemented: reducing the injection speed during the filling phase (for the first 30% of the stroke) to reduce impact; increasing the mold temperature during the solidification phase (20-30°C higher than normal) to reduce thermal gradients; and extending the hold time during the holding phase (1-3 seconds) to compensate for shrinkage and reduce constraint stress. By implementing this strategy, an automotive parts manufacturer was able to extend the time it takes for thermal cracks to appear in the mold from 80,000 to 150,000 cycles, significantly improving mold life.
