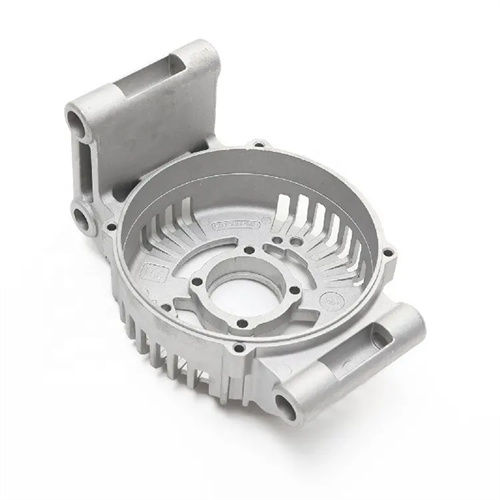
Stress generated during the die casting process
During the manufacturing process, die-casting molds generate various stresses due to various factors, including machining, heat treatment, and assembly. If these stresses are not effectively controlled, they can cause mold deformation, cracking, or loss of dimensional accuracy, impacting service life and molding quality. Manufacturing stresses primarily include machining stress, heat treatment stress, and assembly stress, which must be eliminated or reduced through reasonable process design and aging treatment.
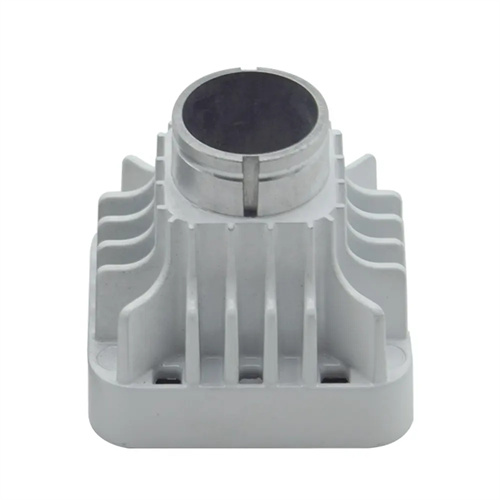
During machining, the combined effects of cutting forces and heat can generate residual stresses on the mold surface. Milling, grinding, and other machining processes create plastic deformation zones on the material’s surface. When the amount of material removed is excessive (e.g., a single-side removal exceeding 5mm), the surface metal is subjected to intense compression, generating tensile stresses that can reach 200-300 MPa. Grinding is particularly prone to stress concentration. Improper grinding wheel grit (e.g., using a coarse-grit wheel for high-hardness materials) or inadequate cooling can cause burns on the workpiece surface, generating thermal tensile stresses exceeding 400 MPa. These stresses are often accompanied by microcracks, which can become a source of failure during mold operation. One experiment showed that the probability of thermal cracking on a ground surface without stress relief treatment after 10,000 cycles was three times that of a treated surface.
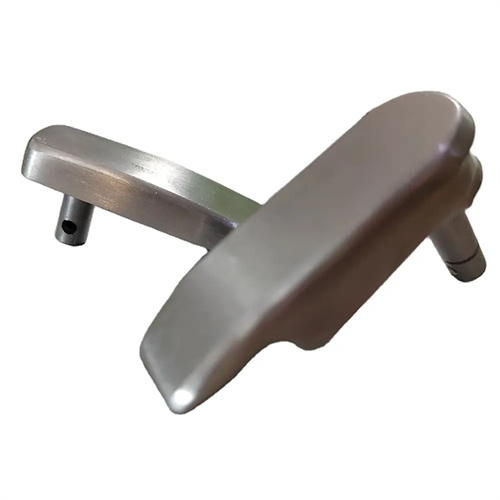
The heat treatment process is a major stress generator. Rapid cooling during quenching can lead to a dramatic temperature differential between the inside and outside of the mold, creating thermal stress. When the thickness of a mold varies significantly, the thicker sections cool more slowly than the thinner sections. Martensite forms first in the thinner sections (expanding in volume) and then transforms later in the thicker sections. This creates tensile stress at the interface. In large molds, this stress can reach 500-800 MPa, high enough to cause cracking. While tempering can partially eliminate some stress, if the tempering temperature is too low or the holding time is insufficient, a large amount of retained austenite will remain, generating stress during subsequent use due to structural transformation. For example, if H13 steel is tempered only once after quenching, residual stress can reach over 300 MPa. However, three tempering cycles can reduce this stress to below 100 MPa.
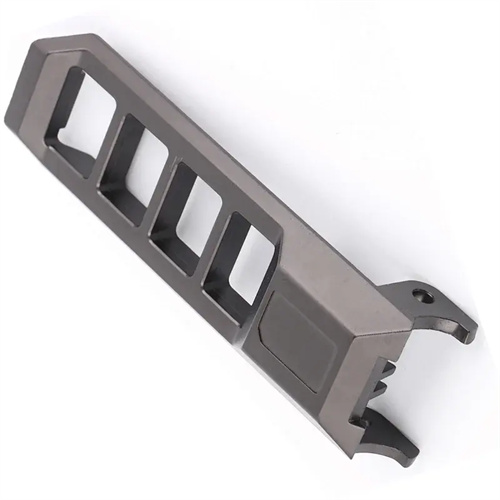
Electrospark machining (EDM) produces a unique stress layer on the mold cavity surface. The high temperatures (10,000-20,000°C) generated during the EDM discharge melt the material surface and rapidly solidify, forming a recast layer 5-20 μm thick. This layer is loose and contains numerous microcracks, with tensile stresses as high as 600 MPa. The high-speed wire cutting process of wire cutting produces an even thicker recast layer (up to 30 μm) and greater stress due to the high electrode speed and inadequate cooling. If these surface stresses are not eliminated, they can cause spalling or cracking in the mold early in its use. Therefore, stress relief treatment (such as holding at 300-400°C for 2-4 hours) and removal of the recast layer (by grinding off at least 0.05 mm) are essential after EDM.
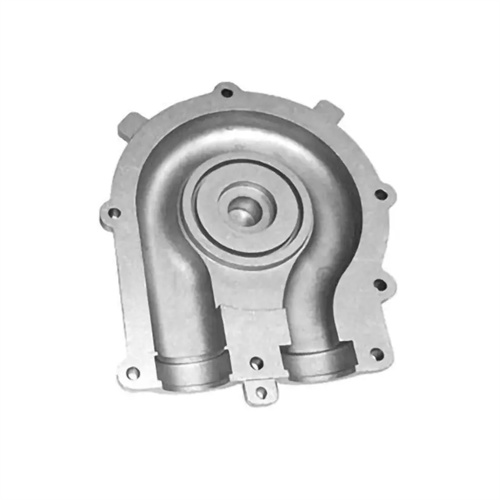
While the stress generated during assembly is numerically small, its uneven distribution can affect mold precision. When the interference fit between the template and the cavity is excessive (exceeding 0.02mm), the press-fit process generates radial compressive stress in the cavity, causing the cavity size to shrink by 0.01-0.03mm, affecting the dimensional accuracy of the die-cast part. The interference fit between the guide pin and guide sleeve can also generate stress. When the interference exceeds 0.01mm, the template can be deformed, resulting in reduced mold accuracy. Improper preload in bolted connections can also generate stress. Excessive preload (exceeding 70% of the bolt’s yield strength) can cause bending stress in the template. In one mold, uneven preload on the fixed die plate bolts resulted in a 0.1mm flatness error on the parting surface, resulting in severe flash during use.
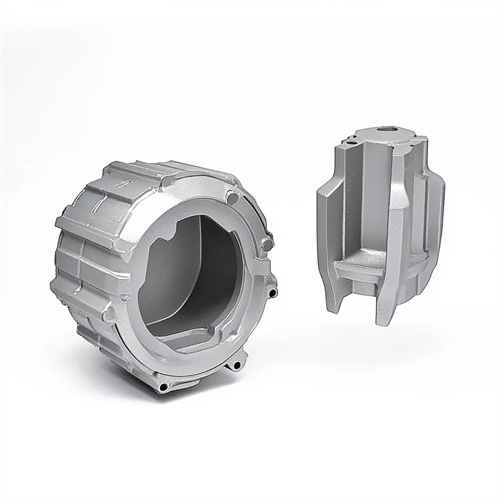
Stress detection and relief are crucial for ensuring mold quality. Common stress detection methods include X-ray diffraction (measuring surface stress) and drilling (measuring internal stress). For large molds, multi- point testing is required at key locations (such as cavity corners and near gates) to ensure residual stress is ≤ 150 MPa. Stress relief treatment processes include natural aging (3-6 months to relieve 20%-30% of stress), artificial aging (200-300°C for 4-8 hours to relieve 50%-70% of stress), and vibration aging (relieves 30%-50% of stress through resonance). Precision molds require two to three stress relief treatments after machining. After the final heat treatment, a cryogenic treatment (-80-120°C for 2-4 hours) is required to promote the transformation of retained austenite, stabilize dimensions, and relieve stress. After this treatment, mold deformation during use can be controlled to within 0.01 mm.
