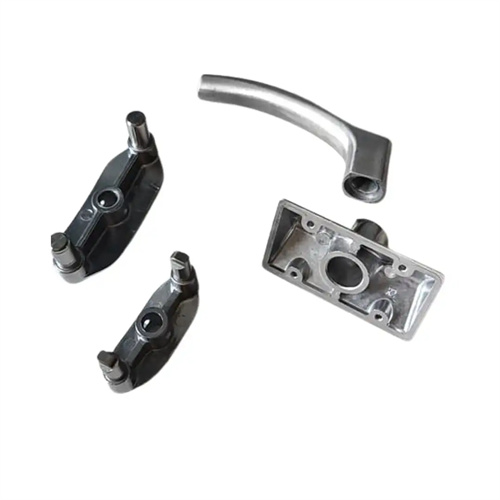
Basic principles of die casting mold design
Die-casting mold design is a critical link between die-casting requirements and production practices. A series of fundamental principles must be adhered to ensure the mold’s practicality, economy, and reliability. These principles permeate the entire mold design process, from cavity layout to structural details, from material selection to process adaptation. Each step requires balancing functional requirements with manufacturing feasibility to ultimately achieve efficient and stable mass production.
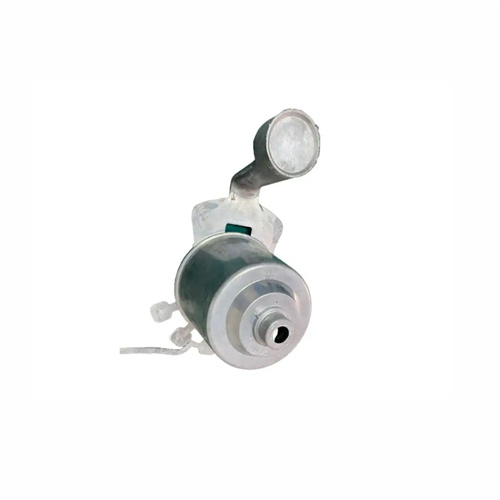
Functionality is the core principle of die-casting mold design. The mold must precisely achieve the shape, dimensions, and performance requirements of the die-cast part. The cavity size must take into account alloy shrinkage. Zinc alloy shrinkage is 0.5-1%, aluminum alloy 1-1.5%, and copper alloy 1.5-2%. For example, for an aluminum alloy casting designed to measure 100mm, the mold cavity needs to be enlarged by 1.2mm to 101.2mm. The molded surface roughness must match the casting’s requirements. Decorative surfaces should be polished to Ra ≤ 0.8μm, while non-decorative surfaces should be polished to Ra ≤ 3.2μm. For areas with fitting requirements (such as bearing holes), mold accuracy must meet IT7 standards to ensure the casting’s tolerances are within design limits. Inadequate mold accuracy resulted in a loose fit in the bearing hole of a motor end cap. Improving the mold accuracy to IT7 increased the pass rate from 82% to 99%. Furthermore, the mold must ensure smooth demolding of the casting. All molded surfaces must have a reasonable taper angle: ≥1° for internal surfaces and ≥0.5° for external surfaces.
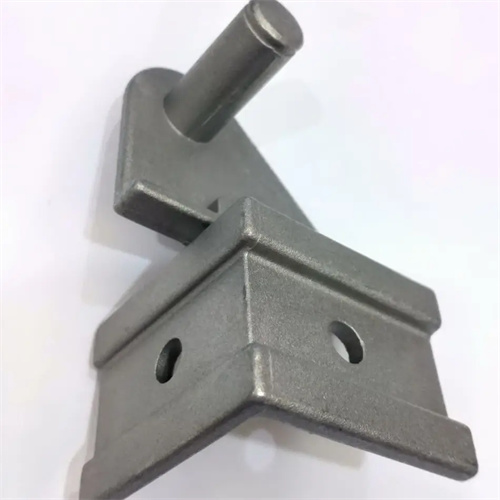
The principle of economy dictates minimizing mold costs and production energy consumption while ensuring functionality. Mold structure should be simplified as much as possible, reducing complex core pulling and parting surfaces. Single-parting surface molds are 30-50% less expensive than double-parting surface molds and are preferred for simple parts. The number of cavities should be determined based on the production batch size. Large batches (>100,000 pieces per year) should use multiple cavities (4-8 cavities), while small and medium batches (10,000-50,000 pieces) should use single or double cavities to avoid underutilization. Material selection should be tailored to the die-casting alloy. Zinc alloy molds can use 5CrNiMo, which is 40% cheaper than H13, while aluminum alloy molds must use H13 to ensure longevity. A zinc alloy toy part uses an 8-cavity mold, reducing mold cost per piece by 60%. A small batch of aluminum alloy parts uses a single-cavity H13 mold, avoiding costly investment. Furthermore, mold design should consider standardization, using standardized mold bases and components (≥60%) to reduce manufacturing cycle time by over 30%.
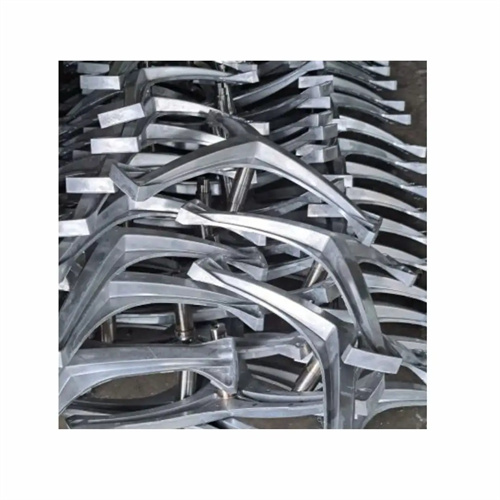
The principle of reliability emphasizes stable mold operation during long-term production to avoid frequent failures. Key mold components (such as guide pins and core pull sliders) must possess sufficient strength and wear resistance. Guide pin diameters must be ≥20mm, surface hardness must be 55-60 HRC, and core pull slider clearances must be 0.01-0.02mm. The cooling system must be evenly distributed, located 15-25mm from the cavity surface, to ensure mold temperature fluctuations ≤±5°C. Uneven cooling caused thermal cracking in the cavity of an aluminum alloy mold. Improved cooling extended the mold life from 30,000 cycles to 100,000. The ejector mechanism must be evenly distributed, with ejector pin spacing ≤50mm to prevent deformation during ejection. A cover plate deformed due to insufficient ejector pins. Adding ejector pins reduced flatness error by 0.3mm. Furthermore, the mold must be equipped with safety features, such as stoppers to prevent over-closing and venting grooves to prevent excessive pressure within the cavity. A mold with no venting grooves caused cavity implosion; these features eliminated the safety hazard.
The principle of process adaptation requires that mold design match die-casting process parameters to ensure a stable molding process. The gate position and size must be determined based on the injection speed and pressure. Large gates (5-8mm diameter) are used for thick-walled parts, while small gates (2-4mm) are used for thin-walled parts. In one thin-walled part, the gate was too small, resulting in insufficient filling. Increasing the gate to 3mm corrected the defect. The venting groove design must match the flowability of the molten metal. Aluminum alloys have good flowability, with venting grooves 0.05-0.08mm deep, while zinc alloys have 0.03-0.05mm. On one zinc alloy part, the venting groove was too deep, resulting in flash. Adjusting the depth to 0.04mm was sufficient. The mold strength must withstand the clamping force of the die-casting machine. The mold frame thickness is calculated based on a clamping force of 1000kN/m². In one case, mold deformation occurred during closing due to an overly thin mold frame, but this was restored after thickening. Furthermore, the mold must adapt to the die-casting machine parameters. The maximum mold opening stroke and tie rod spacing must match the equipment to prevent installation problems.
The principle of maintainability facilitates daily maintenance and troubleshooting of molds, extending their service life. Consumable parts (such as ejectors and guide sleeves) must be designed to be removable and replaceable, with a replacement time of ≤1 hour. The ejector of a certain mold uses standard parts, and the replacement time is shortened from 2 hours to 30 minutes. The mold must reserve sufficient maintenance space, and the side of the cavity must be ≥50mm away from the edge of the mold base to facilitate grinding and polishing. A certain mold could not be repaired due to cavity wear due to insufficient space and was scrapped early. Observation holes and detection surfaces must be set up in key areas to facilitate monitoring of wear. A certain core-pulling slider is equipped with a wear detection surface to detect abnormalities in advance and replace them to avoid batch scrapping. In addition, the mold must have clear markings, such as cavity number and installation direction, to reduce assembly errors. A certain mold was installed upside down due to the lack of direction markings, resulting in 50 scrapped products.
