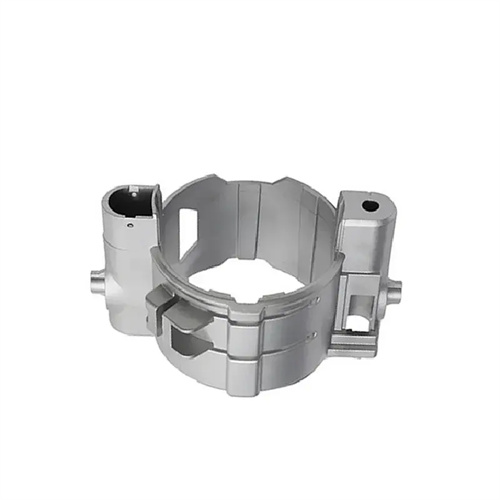
Die casting convex and straight lines
The raised and straight grain patterns on die-cast parts are important surface features and decorative elements, widely used in industrial products. Their design rationality directly impacts the practicality and aesthetics of the product. Raised grain patterns increase surface friction or structural strength, while straight grain patterns are essential for guiding, sealing, or decorative purposes. In die-casting production, the molding quality of these two patterns depends on precise parameter design and process control, balancing functional requirements with manufacturing feasibility to avoid increased mold wear or casting defect rates due to improper grain design.
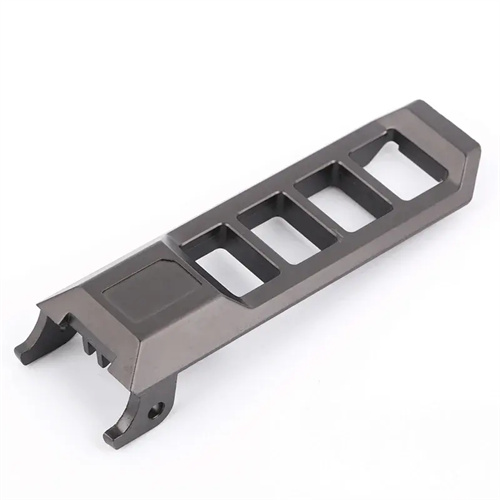
The design parameters for embossing should be determined based on the specific function. Anti-slip embossing prioritizes friction coefficient and typically utilizes diamond-shaped, circular, or strip-shaped raised structures. The recommended height is 0.5-2mm, with spacing of 1-3mm. For example, anti-slip embossing on automotive pedals, using 1.2mm-high diamond-shaped raised structures spaced 2mm apart, has been shown to increase static friction by over 50%, effectively preventing slipping. Decorative embossing should prioritize visual impact, with a height of 0.3-0.8mm and a surface roughness of Ra ≤ 3.2μm. 0.5mm-high dot-shaped embossing, commonly used on home appliance panels, creates a delicate texture through uniform arrangement. Structural reinforcement embossing should be distributed along the direction of force, with a height of 0.3-0.5 times the wall thickness of the joint. For example, embossing the edges of aluminum alloy enclosures can increase overall bending strength by 30% while preventing shrinkage caused by excessive local wall thickness. The wrench handles produced by a tool factory had insufficient anti-slip performance due to the convex height of only 0.3mm. After adjusting it to 0.9mm, users reported that the safety of use was significantly improved.
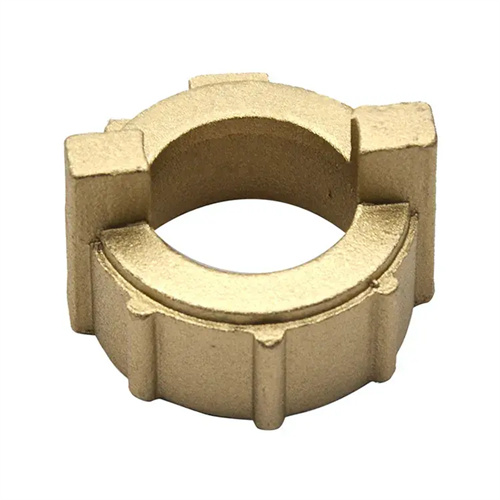
Straight lines should be designed to reflect directional characteristics. Guiding lines should be parallel to the motion trajectory, with a width of 0.5-1mm, a depth of 0.3-0.5mm, and a spacing of 1-2mm. For example, straight lines on drawer slides, combined with lubrication, can reduce sliding resistance by 40%. Sealing lines often feature a 45° cross pattern with a depth of 0.1-0.3mm, improving sealing by increasing the contact area of the gasket. For example, the use of 0.2mm-deep cross lines on the flange of a hydraulic valve reduced leakage from 3% to 0.5%. Decorative lines can be arranged radially, parallel, or circularly, with a width of 0.2-0.5mm and a spacing of 0.5-1mm. Radial lines on lamp housings create unique light and shadow effects through light refraction, enhancing the product’s quality. Avoid sharp angles in straight line design, and use a radius of 0.5mm or greater at all corners to prevent stress concentration and line fracture during die -casting .
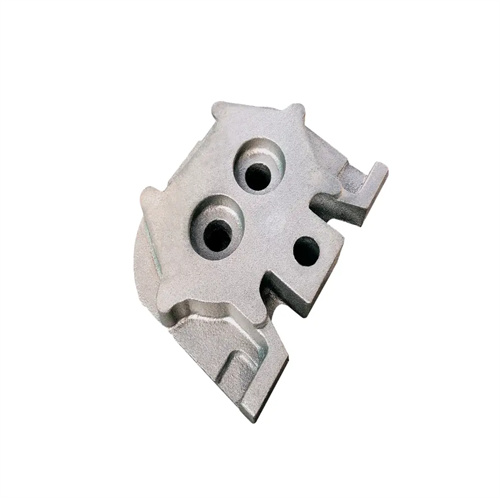
The die-casting process for both raised and straight grains requires targeted parameter adjustments. The precision of the grain processing in the mold cavity is fundamental to quality. Electrospark forming or laser engraving techniques are used to ensure grain dimensional tolerances of ≤0.05mm and surface roughness Ra ≤1.6μm. During the die-casting process, the mold temperature must be 10-20°C higher than for conventional castings—220-260°C for aluminum alloy molds and 160-190°C for zinc alloy molds—to prevent premature solidification of the molten metal in grain details. The injection speed is set based on grain depth: 6-8 m/s for depths greater than 1mm, and 4-6 m/s for shallow grains (≤0.5mm) to ensure complete grain filling. In the production of a zinc alloy decorative part, the mold temperature was below 150°C, resulting in a missing grain at the top of the raised grain. Raising the temperature to 180°C improved grain integrity from 85% to 99%. In addition, exhaust needs to be strengthened in areas with dense lines, and exhaust grooves with a depth of 0.05-0.1mm should be set to prevent gas from being trapped in the gaps between the lines and forming bubbles.
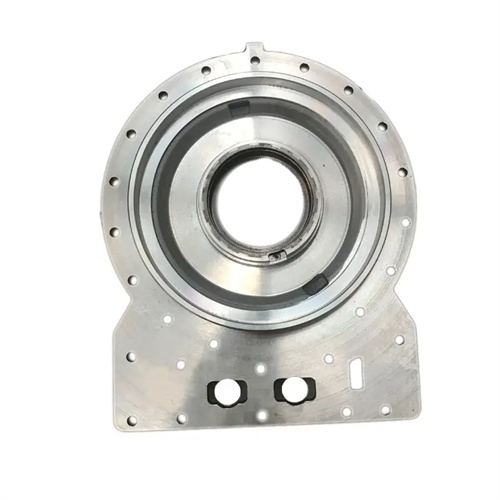
Quality control for both raised and straight grain patterns must cover dimensional accuracy and surface condition. A profilometer is used to measure grain height, width, and spacing, with tolerances within ±10% of the design value. A 1mm high raised grain should be measured within the 0.9-1.1mm range. Regarding surface quality, anti-slip grain patterns are permitted to have an Ra value of ≤6.3μm to ensure friction, while decorative grain patterns require an Ra value of ≤1.6μm to ensure aesthetic appeal. Grain patterns should be regularly inspected for missing grain, burrs, or deformation. Missing grain exceeding 5% requires rework, and burrs >0.1mm in height require polishing. In the production of a certain automotive pedal, the defect rate for missing grain in raised grain patterns was reduced from 12% to 1.5% by optimizing injection parameters and mold venting. Functional verification is also required. Anti-slip grain patterns undergo friction testing (static friction ≥300N under 500N pressure), and structural reinforcement grain patterns undergo bending tests to verify their strength-enhancing effects, ensuring effective design functionality.
