Die casting wall thickness and fillet
The wall thickness and corner radius design of die-cast parts are key factors affecting their molding quality and mechanical properties. Reasonable wall thickness ensures smooth filling of the molten metal and uniform cooling, while appropriate corner radius reduces stress concentration and improves the structural strength of the casting. Wall thickness should be designed to avoid being too thick or too thin, and corner radius design should balance process feasibility and performance. An optimal combination of these two factors can significantly improve the quality and service life of die-cast parts.
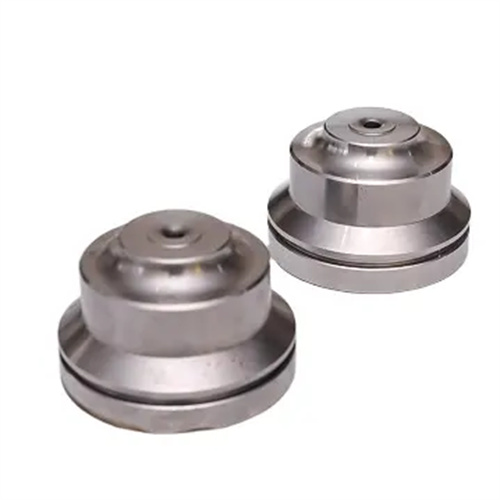
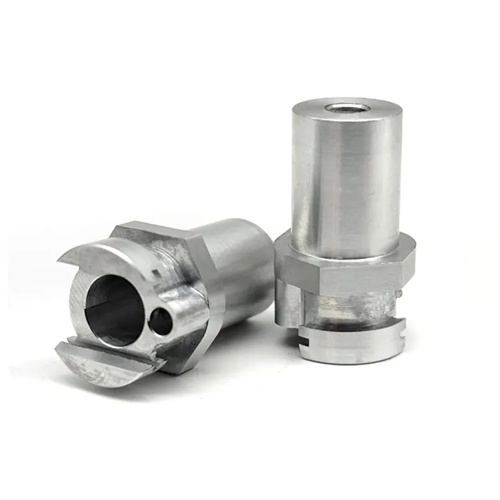
The wall thickness design of die-cast parts must adhere to the principle of “uniformity and appropriateness.” The ideal wall thickness range varies among different alloy materials. The optimal wall thickness for zinc alloy die-castings is 1-3mm. Excessive thickness can lead to internal shrinkage and porosity, while excessive thinness can easily cause undercasting. The wall thickness of aluminum alloy die-castings is typically controlled within 1.5-5mm. Common alloys like ADC12 exhibit optimal overall performance at 2-3mm, ensuring sufficient strength while avoiding internal stress caused by uneven cooling. Due to the poor fluidity of copper alloys, the wall thickness needs to be increased appropriately, generally to 2-6mm. Process holes or ribs should be provided in thicker areas to reduce solidification shrinkage defects. Wall thickness variation within the same casting should be controlled within 30%. For example, for an aluminum alloy housing with a main wall thickness of 3mm, the wall thickness of the local protrusion should not exceed 4mm, otherwise deformation will occur due to differential cooling rates. The zinc alloy toy accessories produced by a certain factory had a shrinkage rate of 15% in the thick wall due to a sudden increase in wall thickness from 2mm to 5mm. After adjusting the wall thickness to 3mm and adding heat dissipation ribs, the shrinkage defect was basically eliminated.
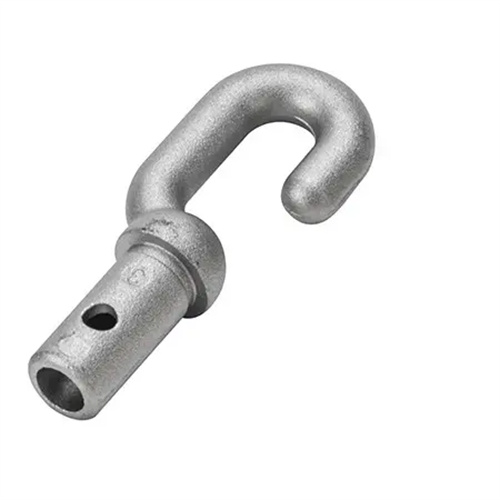
Wall thickness significantly impacts the molding process and production costs of die-cast parts. Thin-walled castings (such as mobile phone midframes, with a wall thickness of 0.8-1.2mm) require higher injection speeds (8-10m/s) and mold temperatures (200-250°C for aluminum alloy molds) to ensure that the molten metal fills the cavity before solidifying, which increases equipment energy consumption and mold wear. Thick-walled castings (such as engine blocks, with a wall thickness of 5-8mm) require longer holding times (5-10 seconds) and cooling times, resulting in lower production efficiency and hourly production capacity 20-30% lower than that of thin-walled parts. From a material cost perspective, for every 1mm increase in wall thickness, the weight of a single part increases by approximately 20-30%. For large-scale production, the cumulative cost difference is significant. A new energy vehicle battery housing uses a 1.5mm thin-wall design. Compared to the original 2mm design, the single part weight is reduced by 25%, the material cost is reduced by 18%, and the shortened cooling time also increases production efficiency by 15%. Therefore, under the premise of meeting the strength requirements, thin-wall design should be adopted as much as possible, and strength loss should be compensated through structural optimization (such as reinforcement).
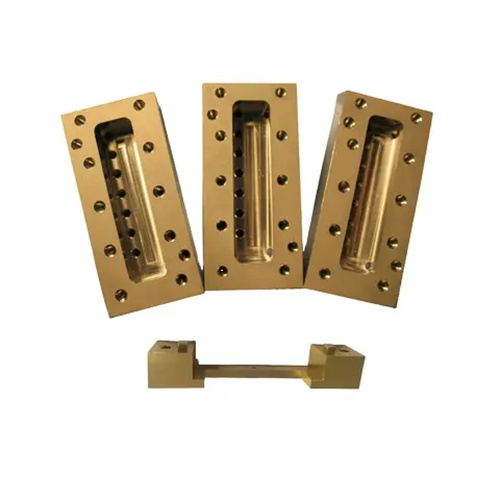
Corner fillet design is a crucial step in optimizing die-casting structures. This includes external fillets, internal fillets, and transition fillets, and their size is determined by the wall thickness. The external fillet radius is typically 0.5-1 times the wall thickness. For example, for a 2mm wall, the external fillet radius should be 1-2mm. The internal fillet radius is the sum of the external fillet radius and the wall thickness, or 3-4mm, to avoid stress concentration at the internal corners. Transition fillets between flat and vertical surfaces improve molten metal flow and reduce eddy currents and air entrainment. For example, the transition fillet between the side and bottom of a housing should be no less than 3mm, otherwise it can easily cause porosity. For areas subject to high stresses, such as bearing seats, the fillet radius should be increased appropriately. For example, increasing the original 2mm fillet radius to 5mm can improve fatigue strength in these areas by over 30%. A gearbox housing with a 1mm fillet at the output shaft hole frequently cracked during use. Increasing the fillet to 3mm and applying aging treatment doubled its service life.
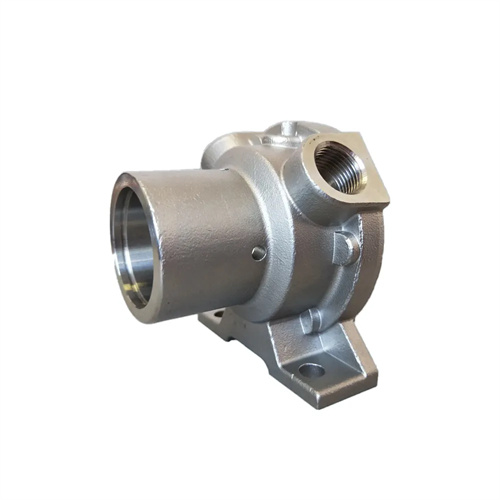
Corner radius has a direct impact on mold life and the release performance of castings. Sharp-angled molds are prone to stress concentration during the die-casting process, leading to wear or cracking in the cavity. For example, a mold with a sharp 90° cutting edge typically has a service life 50% shorter than a rounded mold. However, properly rounded corners evenly distribute stress across the mold. The wear rate of rounded corners on H13 steel molds is 30-40% slower than that of sharp corners. Regarding demolding, rounded corners reduce friction between the casting and the mold. For example, a zinc alloy casting with a 0.5mm radius experiences a 25% reduction in release force compared to a casting with sharp corners, effectively minimizing deformation during demolding. For castings with deep cavities, such as cylindrical parts, the design of the inner wall radius is particularly important. A minimum radius of 1mm per 100mm of depth is required, combined with a draft angle of 1°-2°, to prevent surface scratching during demolding. The aluminum alloy cylindrical parts of a certain factory had a surface scratch rate of 8% during demoulding because the inner wall had no rounded corners. After adding a 2mm rounded corner, the scratch rate dropped to below 1%.
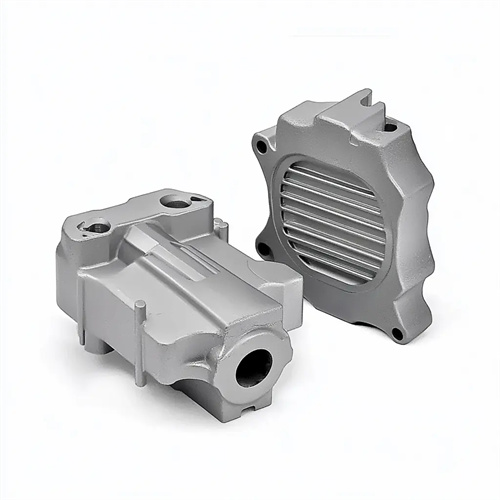
The design of wall thickness and corner fillets must be verified through simulation based on the product’s mechanical performance requirements. Finite element analysis software (such as ANSYS and ABAQUS) is used to simulate the stress distribution of castings under load, allowing optimization of wall thickness and corner fillet parameters. For example, simulation revealed stress concentration in the original 3mm uniform wall thickness of an automobile bumper bracket subject to impact loads. This design was modified to a variable wall thickness of 2.5mm in the main body and locally reinforced to 4mm. The corner fillets at the stress concentration sites were also increased, reducing overall stress by 20%. For castings with complex structures, topology optimization techniques can be used to achieve precise wall thickness distribution while ensuring strength and minimizing material waste. Through simulation optimization, an aviation parts manufacturer reduced the wall thickness of a magnesium alloy bracket from 4mm to 3mm and increased the corner fillet from 2mm to 4mm, reducing weight by 15% while increasing strength by 10%. Furthermore, mold trials are required to verify the design’s rationality, and wall thickness and corner fillet adjustments are adjusted based on the results to ensure stability in mass production.
