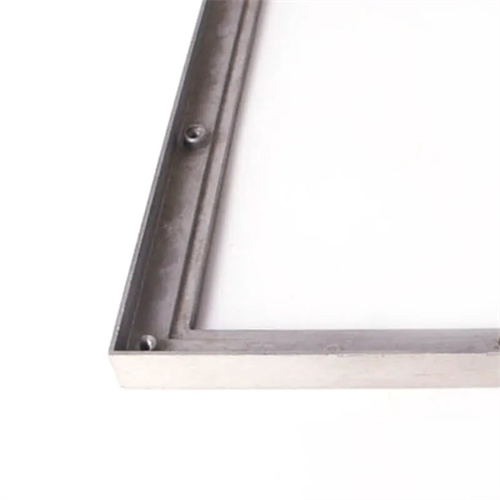
Study product drawings to conduct process analysis on die castings
Studying product drawings is the foundation of die-casting process analysis. By interpreting drawing information (dimensions, tolerances, materials, and structure), die-casting feasibility is assessed and a process plan is developed, providing a basis for subsequent mold design and production. Process analysis must be comprehensive and detailed, focusing not only on the formability of individual features but also considering overall production efficiency and cost. It bridges design and manufacturing, directly impacting product quality and production economics.
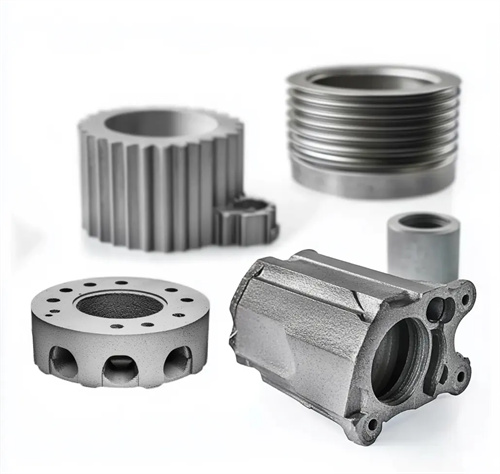
Analyzing the processability of the product structure is a core task. This involves assessing the casting’s shape’s suitability for die casting and identifying difficult-to-form features. First, check for uniform wall thickness. The wall thickness variation within the same casting should be ≤30%. For a shell whose wall thickness suddenly increased from 2mm to 5mm, the analysis recommended a gradual transition (2-3.5mm) to avoid shrinkage. Identify any deep cavities (depth > 3 times the diameter), narrow gaps (width < 1mm), or undercuts. Deep cavities require an assessment of core pulling feasibility. For a 100mm-deep cylindrical part, it was recommended to add a stepped structure and reduce the core pulling depth to 50mm. Check the dimensional ratios of ribs and bosses. Rib thickness should be 0.6-0.8 times the wall thickness, with a height ≤5 times the rib thickness. For a rib with a 15mm height and 2mm thickness (wall thickness 3mm), the improper proportions could cause bending, so it was recommended to reduce the height to 10mm. Analyze whether there are unnecessary complex features. The decorative pattern of a certain casting is too fine (0.3mm), and it is recommended to thicken it to 0.5mm to ensure filling. The structural processability analysis requires the output of a "Structural Optimization Recommendation Table". A project proposed 8 optimization suggestions through analysis. After the customer adopted them, the mold cost was reduced by 25%.
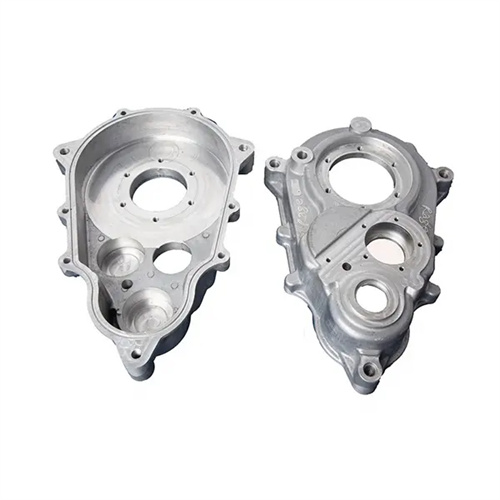
Dimensional accuracy and tolerance analysis is needed to determine whether the die-casting process can meet requirements and avoid excessively high tolerances that increase costs. Achievable tolerance levels are determined based on alloy type: zinc alloys are IT11-IT13, aluminum alloys are IT12-IT14, and copper alloys are IT13-IT15. For an aluminum alloy part, the design tolerance was IT10 (±0.02mm). Analysis determined it was unachievable, so a relaxation to IT12 (±0.05mm) was recommended, increasing the pass rate from 70% to 98%. Critical dimensions (mating surfaces and locating holes) are identified. These areas require specific control, with tolerances one or two levels tighter than non-critical dimensions. For example, the bearing hole in a motor end cap is a critical dimension, with an H7 tolerance, while other dimensions are set to ±0.1mm. The impact of shrinkage on dimensions is calculated. For long dimensions (>200mm), the cumulative error due to linear shrinkage must be considered. For a 2000mm long aluminum profile with a shrinkage of 1.2%, the total error reaches 24mm, requiring segmented control. Analyze whether machining allowance is needed. Reserve 0.3-0.8mm allowance for parts with high precision requirements. A certain bearing hole needs to be ground after die-casting, so reserve 0.5mm allowance to ensure accuracy after machining.
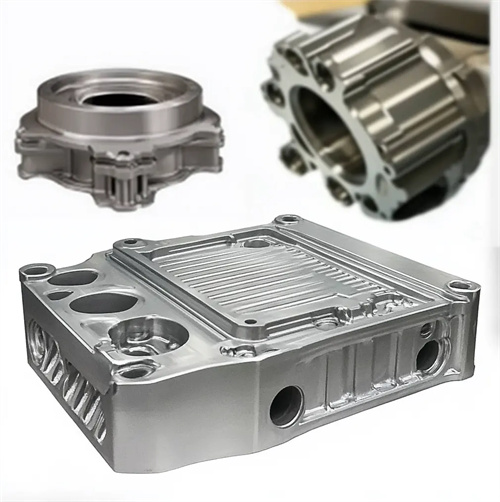
Materials and performance analysis involves evaluating the die-casting suitability and functional compatibility of the selected alloy and recommending the most suitable material. Alloy selection is based on the intended use of the casting: zinc alloy (ZZnAl4Cu1) for decorative parts, aluminum alloy (ADC12) for structural parts, and copper alloy (ZCuZn38) for high-strength parts. For a load-bearing bracket originally designed for ADC12, analysis recommended switching to 6061 aluminum alloy, increasing the tensile strength from 180 MPa to 240 MPa. The alloy’s fluidity and shrinkage are examined. Copper alloys with poor fluidity require larger gates and thicker walls. For a copper alloy part with insufficient fluidity, which resulted in insufficient pouring, it was recommended to increase the wall thickness from 2 mm to 3 mm. The casting’s performance requirements (such as corrosion resistance and heat resistance) are evaluated. Castings used in coastal areas require corrosion-resistant aluminum alloys (such as 5052), while those in high-temperature environments (>150°C) require heat-resistant alloys (such as ADC14). For a casting surrounding an automotive engine, material analysis confirmed the selection of a heat-resistant aluminum alloy to meet the required requirements. Analyze the cost and availability of materials, and give priority to domestic alloys when the batch size is large to reduce procurement costs. In one project, domestic ADC12 was used instead of imported ones, reducing costs by 15%.
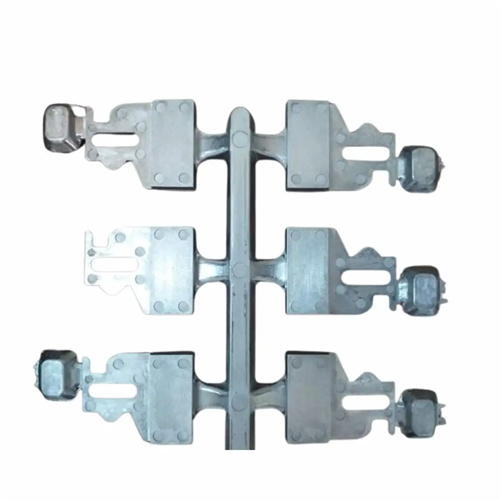
Surface quality and decorative analysis must determine whether the die-cast surface meets requirements and develop a surface treatment plan. Surface roughness requirements must be checked. For surfaces with Ra ≤ 1.6μm, the mold must be polished to Ra ≤ 0.8μm. For surfaces with Ra 3.2μm, conventional polishing is acceptable. For a certain appliance panel, Ra 0.8μm is required, and the mold cavity must be mirror-polished. Appearance defect restrictions (such as pores and shrinkage) must be assessed. No visible defects are permitted on decorative surfaces, while ≤3 pores ≤ 0.5mm φ are permitted on non-decorative surfaces. For a decorative part with excessive surface pores, the analysis recommended vacuum die-casting to reduce defects. Surface treatment (electroplating or anodizing) is determined. Aluminum alloys are suitable for anodizing, while zinc alloys are suitable for electroplating. For a mobile phone midframe, a “die-casting + anodizing” process was selected to meet appearance requirements. The impact of surface treatment on die-casting quality must be analyzed. Electroplated parts must be free of subsurface pores, while anodized parts must have a uniform surface. For an electroplated part, subsurface pores are causing blistering in the coating, and optimization of the degassing process is recommended.
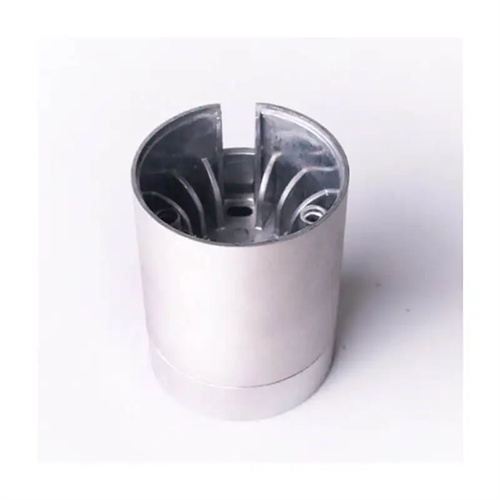
Production batch and economic feasibility analysis should be combined with production volume to develop a process plan, balancing initial investment and unit cost. Large-volume production (>100,000 pieces) is suited to multi-cavity molds and automated production lines. For example, a toy part with an annual production of 1 million pieces uses an 8-cavity mold and robotic part removal, reducing unit cost by 60%. Small and medium-volume production (10,000-50,000 pieces) is suited to single-cavity molds and semi-automatic production. For an equipment component with an annual production of 30,000 pieces, using a single-cavity mold reduced mold investment by 40%. Analyze whether shared molds are necessary. For serialized products, modular molds can be designed, allowing for the production of multiple varieties by replacing cavity modules. One company used a common mold base for three sizes of cover plates, reducing mold costs by 50%. Alternative processes should be evaluated. For simple parts, the costs of die casting and stamping can be compared. For a thin sheet part, switching to stamping reduced costs by 30%. Economic feasibility analysis should produce a cost estimate, including mold investment, unit cost, and total production cost, to inform decision-making. For one project, selecting the optimal solution through analysis reduced total production costs by 22%.
