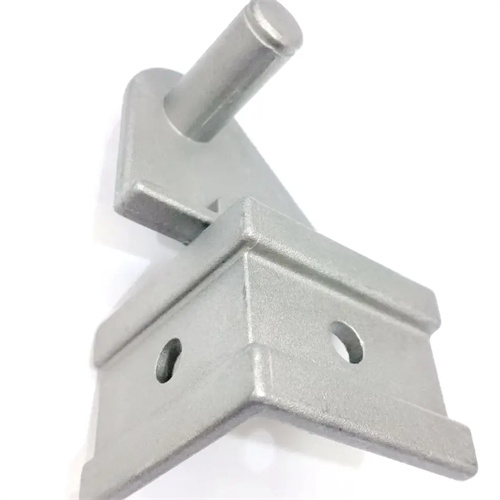
The die-casting ejection angle, defined as the angle between the casting surface and the mold parting plane, is a critical design parameter for smooth demolding. Its magnitude directly impacts demolding resistance, casting surface quality, and mold life. A reasonable ejection angle reduces friction between the casting and the mold cavity, preventing strain, deformation, or cracking during demolding while also minimizing mold wear. The ejection angle must be determined based on factors such as the casting material, surface roughness, height, and shape. It should be neither too small, resulting in demolding difficulties, nor too large, impacting the casting’s assembly accuracy and appearance.
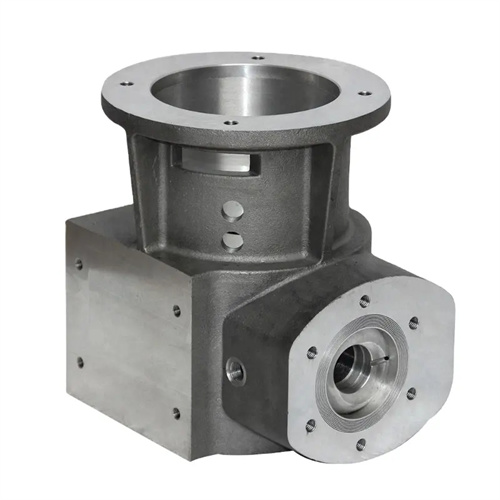
Die-castings made of different materials have varying requirements for ejection angles, primarily due to differences in their coefficient of friction and elastic modulus. Zinc alloy die-castings have a relatively low coefficient of friction (approximately 0.15-0.2), requiring relatively small ejection angles. The cavity (inner surface) angle is typically 0.5°-1°, and the core (outer surface) angle is 0.3°-0.8°. Aluminum alloys have a slightly higher coefficient of friction (0.2-0.25), requiring slightly larger angles (1°-2° for the cavity and 0.5°-1.5° for the core). Copper alloys have the highest coefficient of friction (0.25-0.3) and are also hard and prone to mold wear, requiring larger angles (1.5°-3° for the cavity and 1°-2° for the core). For example, the inner surface angle of a zinc alloy decorative part, originally designed for 0.3°, exhibited severe strain during ejection. Adjusting the angle to 0.8° completely eliminated the strain. In addition, the elastic modulus of the material also needs to be considered. The elastic modulus of magnesium alloy is low (about 45GPa), and the elastic deformation is large during demolding. The slope needs to be increased by 0.5°-1° compared to the aluminum alloy casting of the same size to prevent the mold from getting stuck after deformation.
The height and surface roughness of the casting are crucial factors in determining the mold taper. The greater the height, the greater the required taper to balance accumulated frictional resistance. For castings less than 50mm tall, the cavity taper can be set to 0.5°-1°; for castings 50-100mm, the taper is 1°-1.5°; for castings 100-200mm, the taper is 1.5°-2°; and for castings greater than 200mm, the taper must be ≥2°. For example, for a 300mm tall aluminum alloy cylindrical part, a cavity taper of 2.5° is required to ensure smooth demolding. The impact of surface roughness on slope is reflected in frictional resistance. Surfaces with low roughness (Ra ≤ 0.8μm) experience low friction, and the slope can be reduced by 0.2°-0.5°. Surfaces with high roughness (Ra ≥ 6.3μm) require an increase of 0.3°-0.8°. For example, after polishing a mold cavity to Ra 0.4μm, the original 1.5° slope was reduced to 1.2°, and still allowed for smooth demolding. For surfaces with mating requirements, the slope must be precisely calculated to ensure that the assembly dimensions are within tolerance. For example, the slope of a bearing hole is set at 0.5°, and the fit clearance is guaranteed by controlling the maximum and minimum diameter deviations.
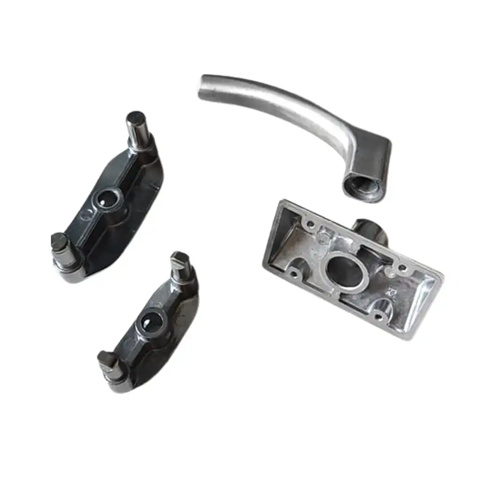
The complexity of the casting shape determines the distribution of the mold taper. Simple, regular shapes can adopt a uniform taper, while complex shapes require segmented tapers. For castings with bosses, ribs, or grooves, the taper in these areas should be 0.5°-1° greater than the main surface. This is because the contact area between the boss and the mold is small, resulting in high friction per unit area. For example, an aluminum alloy housing with multiple ribs has a 1° main taper and a 1.5° taper at the ribs to avoid strain at the rib base. Castings with deep cavities (depth > diameter) require a gradual taper, with the bottom taper 0.5°-1° greater than the mouth taper. For example, a 100mm deep cavity would have a 2° bottom taper and a 1.5° mouth taper to minimize the wedge effect during demolding. For curved or irregular surfaces, the taper should be measured along the demolding direction to ensure that the taper meets the requirements at every point. On a curved surface of an automotive panel, the taper was measured incorrectly, resulting in localized insufficient taper and deformation. The problem was resolved by re-adjusting the taper to the demolding direction.
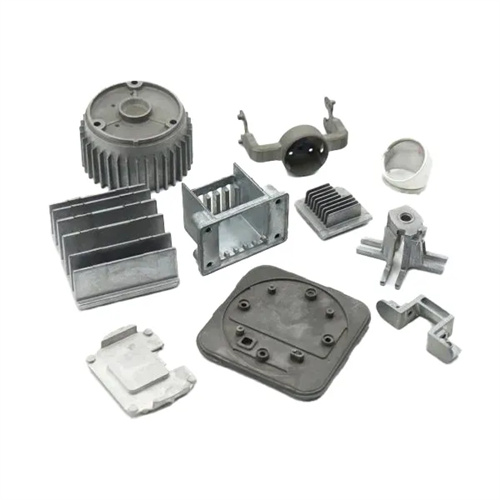
The design of the ejection slope must match the mold structure and demolding mechanism to ensure smooth demolding. For castings with an ejector mechanism, the slope of the ejection position can be appropriately reduced, as the ejection force can assist in demolding. For example, the slope of the ejector pin contact area should be 0.3°-0.5° smaller than other areas. For castings without an ejector mechanism (such as small zinc alloy parts), the slope needs to be increased by 0.5°-1°, relying on gravity and mold tilt to achieve demolding. The slope of the core pulling area must be consistent with the core pulling direction. The slope of the inclined core pulling should be greater than the inclination angle of the core pulling mechanism. For example, for a 10° inclined core pulling, the slope of the corresponding part of the casting must be ≥11° to prevent interference with the casting during core pulling. The inclined core pulling mechanism of a certain mold caused the casting to deform during core pulling because the casting slope was only equal to the core pulling angle. Increasing the slope by 1° reduced the deformation from 0.3mm to 0.05mm. In addition, the slope design needs to take into account the mold processing technology. When using CNC machining, the slope can be accurate to 0.1° to ensure that the slope of the mold and the casting are consistent.
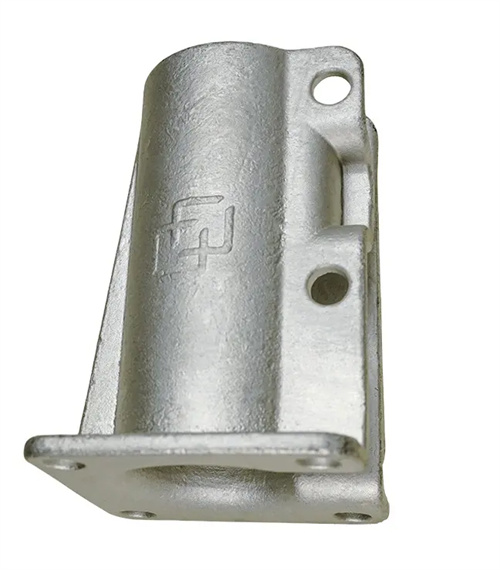
Verification and optimization of the ejection angle should be completed through mold trials and production practice. During mold trials, the smoothness of demolding should be observed and the ejection force (measured using a pressure sensor) recorded. Under normal circumstances, the ejection force should be ≤5% of the clamping force. If the ejection force is excessive or strain occurs, the ejection angle should be increased. If the excessive ejection angle causes the casting to be out of tolerance, the ejection angle should be appropriately reduced. One manufacturer discovered through mold trials that the optimal ejection angle for an aluminum alloy casting is 1.2°, which reduces the ejection force by 20% compared to the initial design of 1° while maintaining dimensional accuracy. During mass production, mold cavity wear should be regularly inspected. If wear exceeds 0.1mm, the ejection angle can be increased by 0.2°-0.3° to extend mold life. Furthermore, CAE simulation software (such as Moldflow) can be used to analyze the ejection process under different ejection angles, predict potential problems, and optimize the ejection angle design. For a complex casting, simulations optimized the ejection angle from 2° to 1.7°, ensuring smooth ejection while reducing material consumption.
