Factors affecting the size of die castings
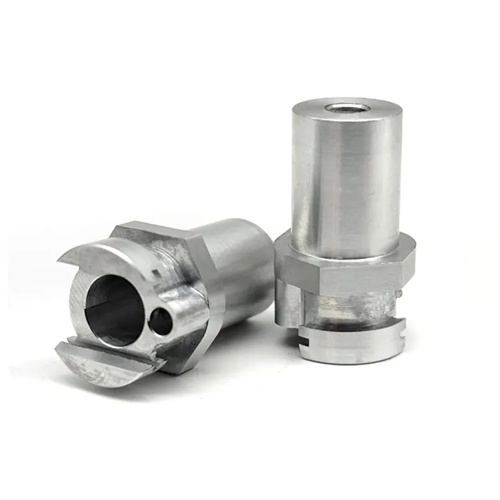
The factors affecting the dimensional accuracy of die-castings are complex and diverse, involving multiple aspects, including the die-casting mold, die-casting process, and alloy materials. Accurately identifying these factors and implementing targeted measures are crucial to ensuring dimensional accuracy of die-castings. Mold manufacturing accuracy is the primary factor affecting die-casting dimensions. The dimensional errors of the mold cavity and core directly determine the basic dimensions of the die-casting. If the dimensional tolerances of the molded parts exceed the design range, the die-casting will inevitably exhibit dimensional deviations. For example, if the mold cavity dimension is 0.1mm larger than the design value, the corresponding die-casting dimension will also be 0.08-0.1mm larger (accounting for shrinkage) under normal conditions. Furthermore, mold assembly accuracy is crucial. Misalignment of the parting surface and coaxiality errors between the core and cavity can lead to dimensional deviations or shape distortion in die-castings. For example, excessive coaxiality of the bearing bore in an automotive transmission housing is often caused by excessive positioning errors during mold core assembly.
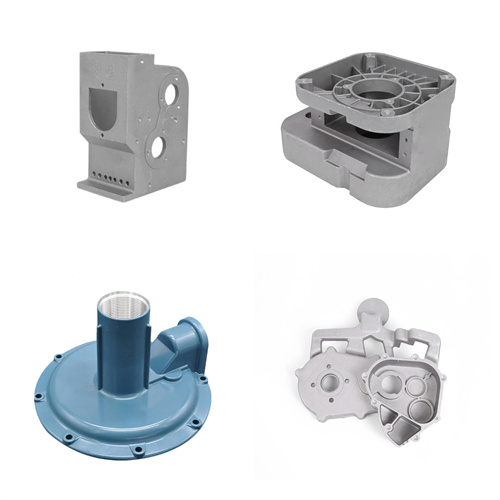
The shrinkage characteristics of die-cast alloys are a key factor influencing die-casting dimensions. Shrinkage rates vary significantly between different alloys, and even for the same alloy, shrinkage can fluctuate due to factors such as composition, temperature, and pressure. Aluminum alloys have a volumetric shrinkage of 3%-5% and a linear shrinkage of 0.8%-1.2%; zinc alloys have a volumetric shrinkage of 2%-3% and a linear shrinkage of 0.5%-0.8%; and magnesium alloys fall somewhere in between. Variations in shrinkage can directly lead to dimensional deviations in die-cast parts. For example, if the actual shrinkage of an aluminum alloy exceeds the design value by 0.2%, a 100mm long die-cast part will be 0.2mm shorter than expected. Furthermore, alloy shrinkage is directional, with shrinkage along the flow direction typically 5%-10% greater than in the perpendicular direction. This can lead to anisotropic dimensional deviations in die-cast parts, such as a long die-cast part shrinking more along its length than along its width.
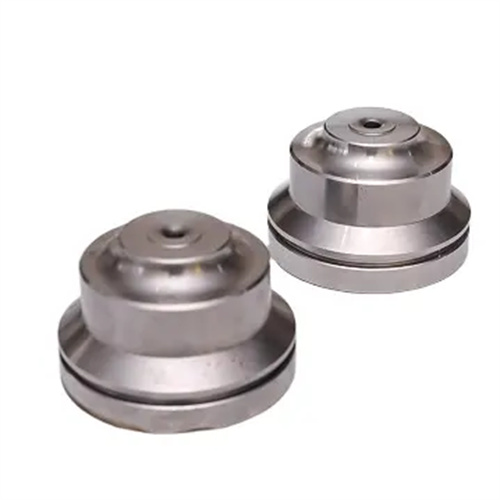
Fluctuations in die-casting process parameters, including injection speed, shot pressure, mold temperature, and alloy pouring temperature, significantly impact die-casting part dimensions. Insufficient shot pressure prevents the molten metal from fully filling the mold cavity, resulting in undersized die-cast parts. Excessive shot pressure, on the other hand, causes elastic deformation in the mold, which returns to its original shape after mold opening, resulting in oversized die-cast parts. For example, when die-casting an aluminum alloy housing, increasing the shot pressure from 60MPa to 80MPa may increase the die-casting’s overall dimensions by 0.05-0.1mm. Mold temperature uniformity is also crucial. If the temperature difference between different parts of the mold cavity exceeds 20°C, different parts of the die-casting will cool at different rates, shrinking unevenly and causing dimensional deviations. For example, excessively high temperatures near the mold gate can cause the die-casting in that area to be 0.03-0.05mm larger than other areas.
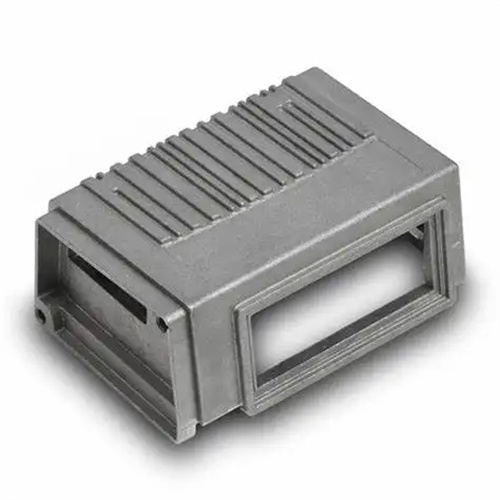
Mold wear and deformation are long-term factors that cause gradual dimensional changes in die-cast parts. During mass production, molded parts gradually wear out due to the erosion, corrosion, and high temperatures of the molten metal, leading to an increase in cavity size. For example, when die-casting zinc alloy parts, the mold cavity wears at a rate of approximately 0.01-0.02mm for every 10,000 pieces produced. After a cumulative production of 100,000 pieces, the cavity size may increase by 0.1-0.2mm, resulting in dimensional deviations in the die-cast parts. Furthermore, molds can experience thermal fatigue deformation during repeated heating and cooling cycles. The mold plates of large molds, in particular, can bend slightly due to thermal stress, causing deviations in the flatness or perpendicularity of the die-cast part. For example, after a period of use, the flatness error of an automotive engine cylinder block mold may increase from an initial 0.05mm/m to over 0.1mm/m.
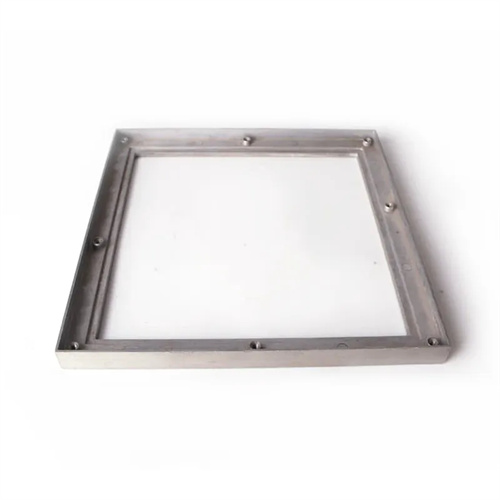
The structural design of die-castings can also affect their dimensional stability. Improperly structured die-castings are prone to stress concentration during the molding process, leading to warping and uneven shrinkage after cooling, which in turn affects dimensional accuracy. For example, die-castings with large wall thickness variations (such as a sudden increase from 2mm to 5mm) experience slow cooling and greater shrinkage in the thicker wall, causing the die-casting to bend toward the thicker wall, resulting in dimensional deviations of 0.1-0.3mm. Furthermore, slender ribs, deep cavities, and complex patterns on die-castings complicate filling and cooling of the molten metal, making dimensional deviations due to insufficient filling or uneven cooling more likely. Therefore, during the product design phase, die-casting structure optimization (such as using uniform wall thickness, avoiding sharp corners, and increasing rounded corners) should be employed to minimize dimensional deviations. Furthermore, properly designed draft angles and reinforcing ribs can also improve the dimensional stability of die-castings and reduce the complexity of subsequent processing.
