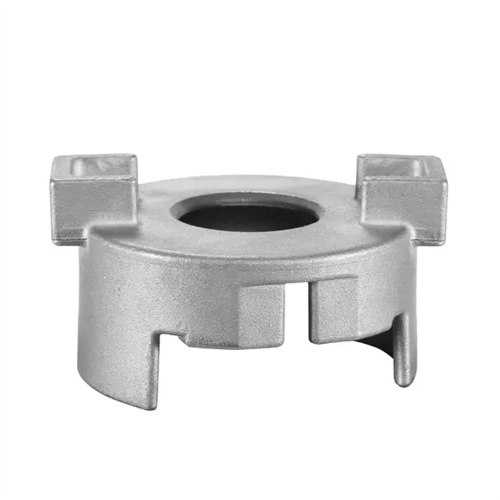
Main dimensions of die casting model core
The die-casting mold core is a key component that determines the internal shape and dimensions of the die-casting. Its key dimensions include the working diameter, length, step size, and fit with the mold plate. The design of these parameters must balance the precision requirements of the die-casting, the core’s strength and rigidity, and the die-casting process characteristics. The diameter of the core’s working portion is the most critical dimensional parameter and must be determined based on the dimensions of the corresponding die-casting bore and taking into account die-casting shrinkage. For example, if a die-casting has a φ20mm bore (made of aluminum alloy with a 1% shrinkage), the core working portion diameter should be 20mm x (1 + 1%) = 20.2mm. For bores with tolerance requirements, such as IT11 grade (tolerance range ±0.11mm), the core diameter must be adjusted to the basic dimensions to account for shrinkage and mold manufacturing tolerances. Typically, mold manufacturing tolerances are 1/3 of the die-casting tolerance, or ±0.037mm. Therefore, the final core diameter is 20.2mm ± 0.037mm.
The core length design must comprehensively consider the die-casting hole depth, ejection stroke, and core mounting method. The total core length is the sum of the working portion length (i.e., the die-casting hole depth) and the fixed portion length. The fixed portion length is typically no less than one-third of the working portion length to ensure adequate support strength. For example, for a core with a die-casting hole depth of 50mm, the working portion length should be 52mm (including a 0.5mm draft allowance), and the fixed portion length should be no less than 18mm, for a total length of at least 70mm. For slender cores (with an aspect ratio greater than 10), longitudinal reinforcement structures are required, such as a central guide platform with a diameter 2-5mm larger than the working portion diameter. This not only enhances core rigidity but also serves as an auxiliary guide, reducing bending deformation during the die-casting process.
Core step design is primarily targeted at die-castings with stepped holes. The shrinkage allowance for each step diameter must be calculated based on the corresponding die-casting step hole dimensions. The transition radius between adjacent steps must be greater than the die-casting’s required corner radius (typically 0.2-0.5mm larger) to prevent stress concentration and core fracture. The step height should be consistent with the die-casting’s step hole depth, ensuring a close fit between the step end and the die-casting’s stepped surface to prevent molten metal from entering the gap and forming flash. For example, if a die-casting has a φ20mm×30mm and φ15mm×20mm stepped hole, the core should be designed with corresponding φ20.2mm×30.3mm and φ15.15mm×20.2mm steps, with a step transition radius of R1.2mm (the die-casting requires R1mm).
The mating dimensions between the core and the mold plate must ensure accurate positioning and easy assembly and disassembly. A transition fit of H7/m6 or a tight transition fit of H7/k6 is typically used. The diameter tolerances of the mating parts must be strictly controlled. For example, the diameter of the core’s fixed end is 30H7 (+0.021/0), corresponding to the mold plate’s mounting hole diameter of 30m6 (+0.015/+0.002). The clearance (or interference fit) is controlled between -0.015 and +0.019mm, ensuring a secure core fixation and facilitating press-fit or tap-fit installation during assembly. The mating length is typically 1.5-2 times the core diameter. For a 30mm diameter core, the mating length is 45-60mm to prevent radial movement during operation. Furthermore, the surface roughness of the mating surfaces must be below Ra0.8μm, with a flatness error of no more than 0.01mm/100mm to ensure a precise fit.
Other key core dimensions include draft angle, cutting edge dimensions, and vent groove dimensions. The draft angle is determined by the length and surface roughness of the core’s working portion. For aluminum alloy die castings, the core’s draft angle is typically 0.5°-2°, with the longer the core, the greater the draft angle. For example, a 50mm core has a draft angle of 1°, while a 100mm core has a draft angle of 1.5°. The core’s cutting edge (i.e., the edge of the die casting) requires a 0.2-0.5mm radius or bevel to prevent sharp edges from cracking due to impact during the die casting process. Vent grooves are typically located in the non-working portion of the core, with a width of 2-5mm and a depth of 0.05-0.1mm. They extend from the core’s mating surface to the die plate’s vent channel to ensure smooth exhaust of gases within the mold cavity during die casting. The proper design of these detailed dimensions is crucial to ensuring core performance and die casting quality.
